How To Create a Wedding Seating Chart Without Getting a Migraine
One of the most dreaded tasks for any couple planning a wedding is creating the seating chart. Your guests spend a considerable amount of time in their seats during the wedding reception, and their company at the table has one of the biggest impacts on their overall wedding experience. Create your wedding seating charts with complete confidence and have fun doing it with our top tips on how to create a wedding seating chart without getting a migraine!
Step 1: Determine the Floor Plan
Last-minute RSVPs and additions happen, but as long as you have your venue reserved and an estimate of your guest list you can begin the opening stages of creating your seating chart. Before you start assigning guests to tables you will need to determine the floor plan of your wedding reception. To do so, we suggest printing out or drawing a sketch of the reception hall and determining the following questions:
Is there a designated dance floor or will you need to make space for one?
Are you having a wedding band or DJ, and how much space will they need for equipment?
What will be the location of your welcome table, dessert table, buffet table, etc.? You will need to leave a comfortable amount of space for guest tables if they are near a location other guests will be frequenting.
Will you have a sweetheart table or a head table that includes the bridal party and their dates?
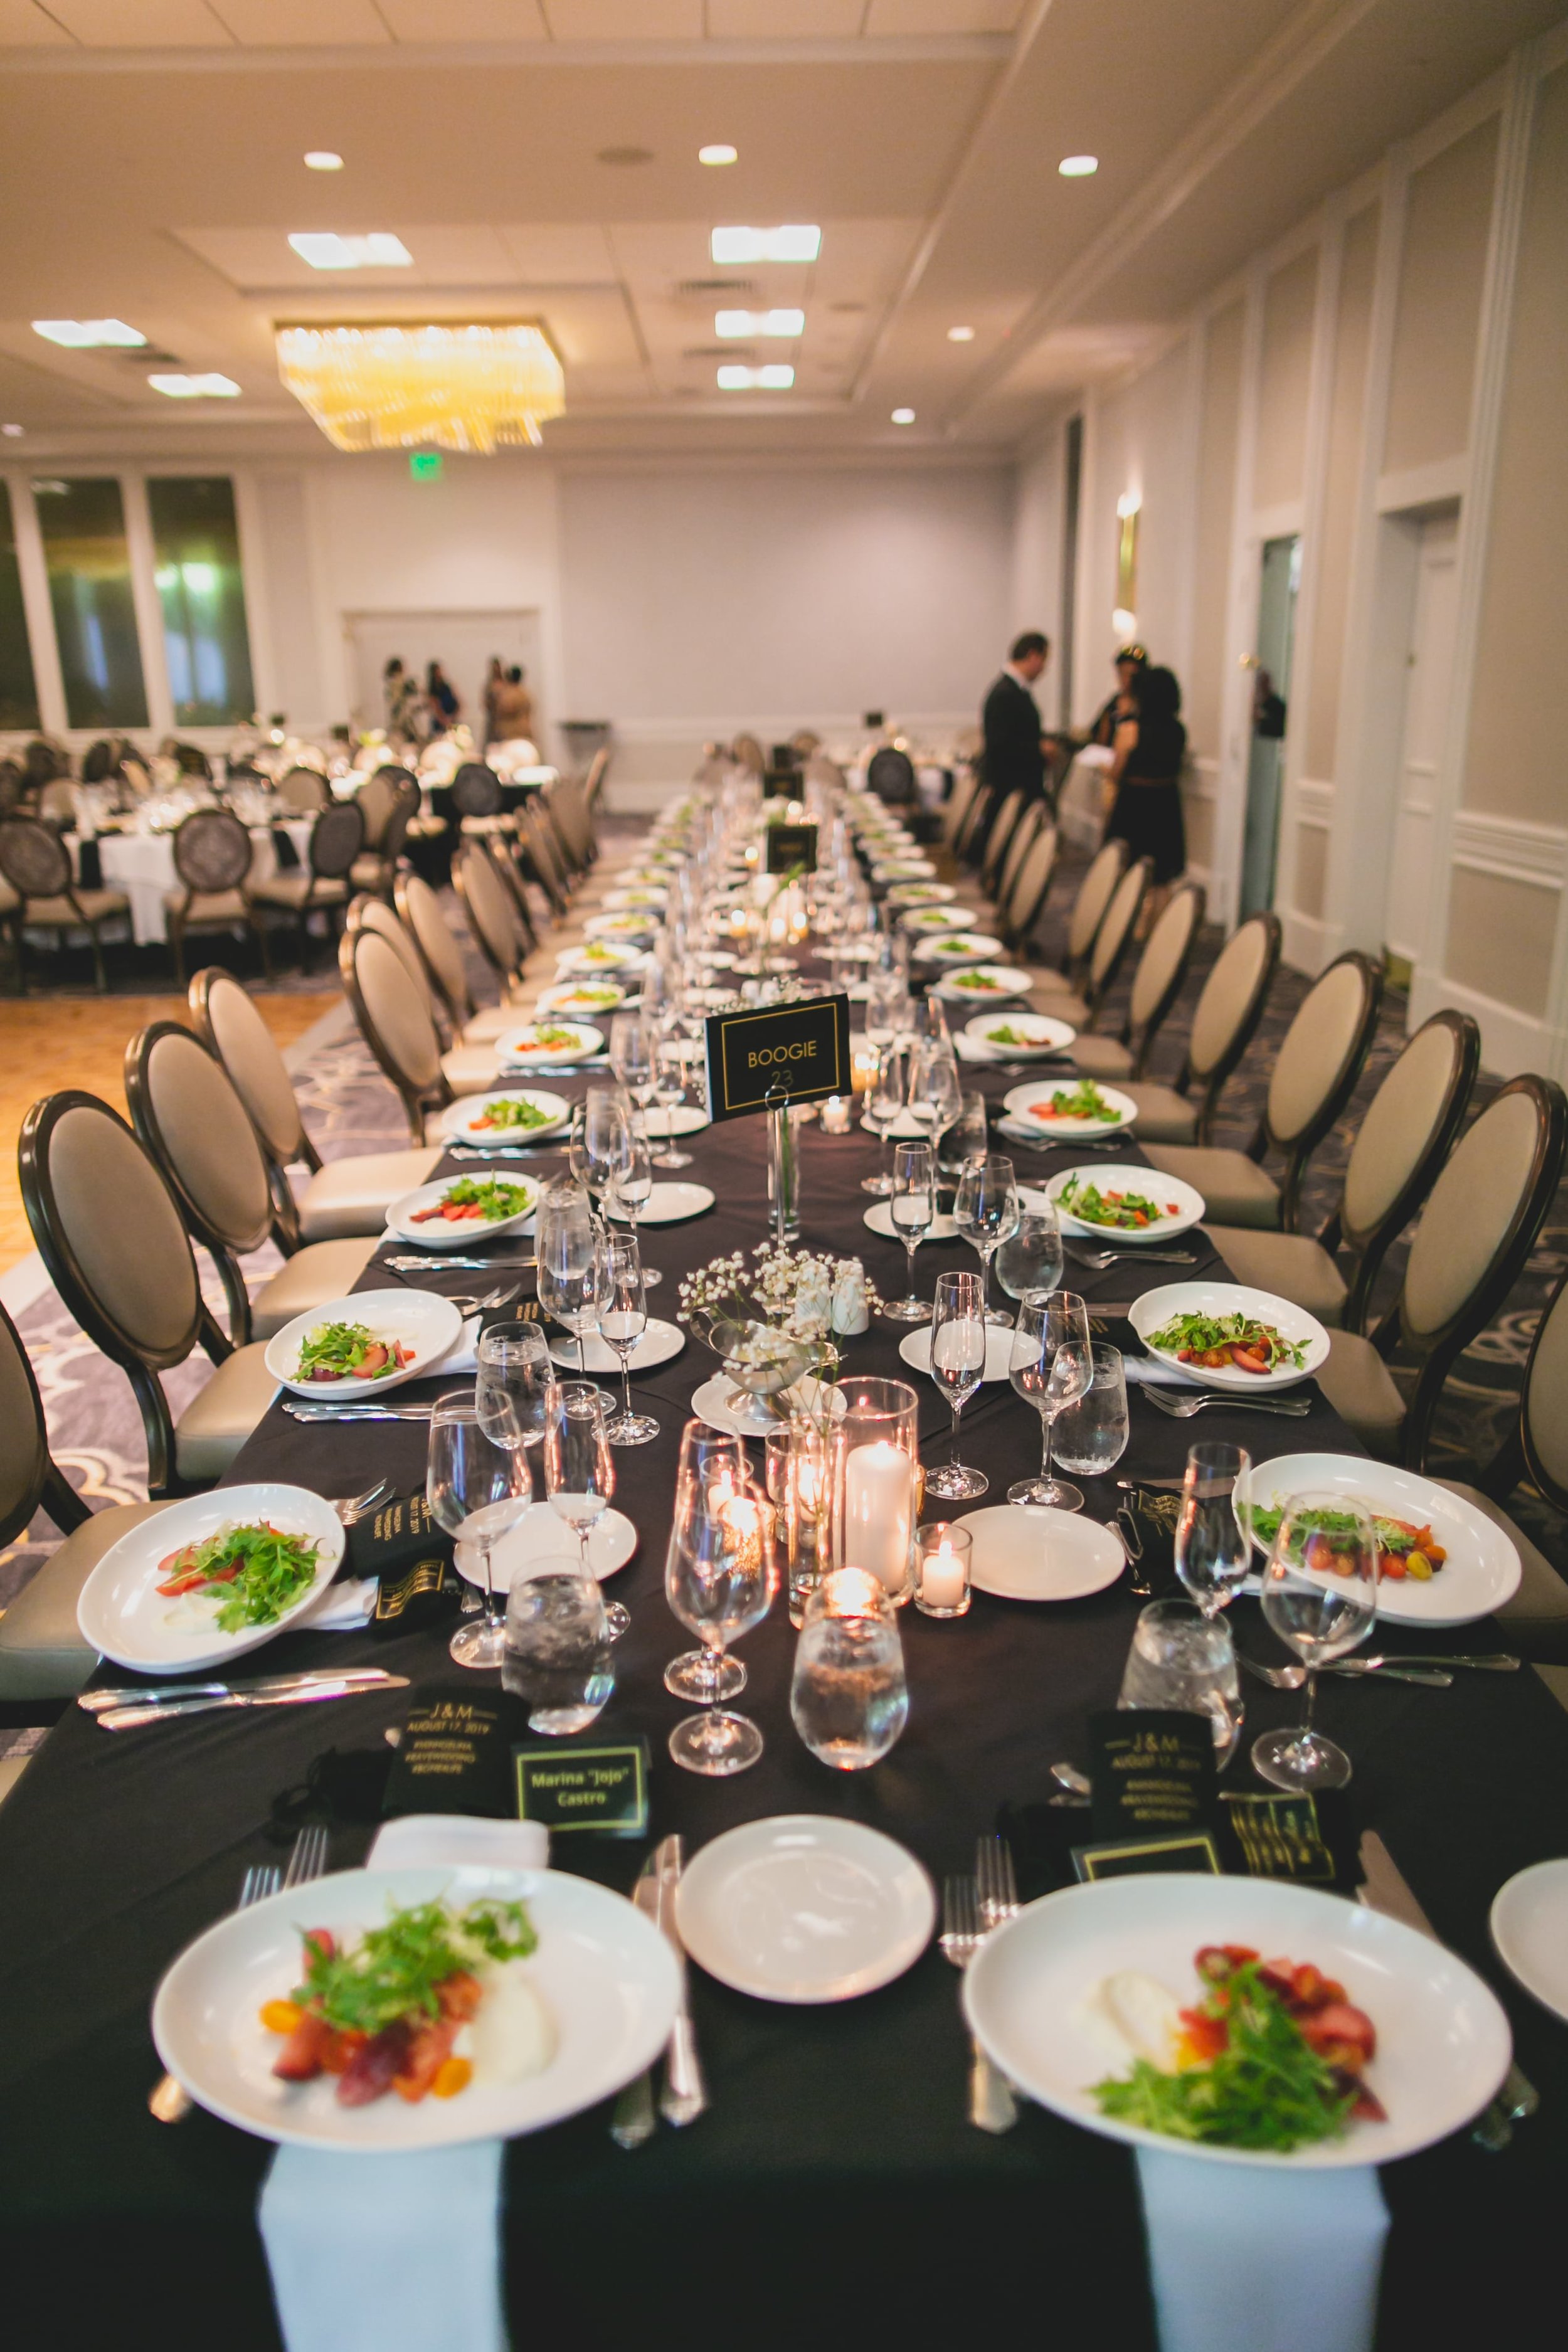
What shape would you like your guest tables to be? (Round tables are typically easier for guests to engage in conversation, while rectangular tables can be pushed together or moved to create more space.)
How many guests would you prefer per table?
Knowing this information will give you a more accurate picture of the space you have available for guest tables and how to organize them.
Step 2: Organizing Tables by Groups
When it comes to assigning your guests to tables there are no hard and fast rules, but by organizing everyone by association it can make the process more manageable. This can be accomplished in a number of ways, but some of the simplest include:
Grouping by Family – Parents of the bride and groom, as well as aunt’s and uncle’s, can head their own tables being placed with their family’s as well as any close family friends.
Tables Headed by the Bridal Party – If you opt for a sweetheart table, instead of grouping the bridal party together each member of the bridal party can head their own tables. This way you can gather input from your bridal party as to who should be seated where.
Relationship by Origin – Chances are many of your guest relationships share a similar origin such as meeting in high school, college, work, etc. At the very least this will give everyone at the table something in common, which should make introductions and conversations more natural.
The nature of how you group your guests depends largely on your particular guest list, but no matter how you go about it, try to connect the dots in some fashion. To keep yourself organized, create an excel sheet or get a board and color-coded post-it notes you can move around to try different options.
Step 3: Last Minute Additions
Finalizing Your Guest List - Especially with large guest lists, it can be difficult to find the time to track down any uncertainties in the days leading up to your wedding, but it’s important to have a final number at least a few days before the big day. Enlist the help of your family and bridal party to double-check on any guests that haven’t RSVP’d or last-minute cancellations to get a final number.
Adding Seats and Meals - To cope with these last-minute additions or cancellations, it can be helpful to assign tables rather than seats. Rather than having to adjust on a seat by seat basis, you can add the new guests to an open table and guests can work out the particular seating among themselves. If you’ve grouped the tables accordingly, this should be no problem. For this reason, it can actually be beneficial to have open seats at some tables, so don’t stress about making sure every table is full. As for meals, caterers will typically plan for these last-minute changes, but it’s important to contact them ASAP with updated information. Keep a few extra place cards on hand and a pen or marker of a similar color to place at the new seats.
The Seating Chart – The final step is getting those names on an actual seating chart. Luckily, there are tons of adjustable options that look great and make last-minute changes a breeze. Mirrors with erasable markers, decorative chalkboards, or options that utilize pictures or tags rather than printed names will look beautiful and save you headaches when changes arise.
Everything in its Right Place
By breaking down your wedding seating chart into bite-size pieces, this seemingly insurmountable task will become more manageable than you ever believed. All your guests will appreciate the thought and effort you put forth into their comfort, everyone will have a great time, and most importantly it will save you a whole lot of stress!
Contact us for more information on how we can tell your love story. We would love to walk you through our amazing packages, wedding albums, canvases, and other print photography products. We look forward to providing you with more information on our Wedding Videography and Wedding Photography and the opportunity to introduce you to our team!


